上一篇我们实现了在macOS上面的编译。但是我们采用的并不是macOS的原生接口,因此获得的OpenGL Context所支持的API版本也被限制到2.1版本。这显然是不够的。
因此,接下来我们来尝试使用macOS的原生图形接口 —— Cocoa,来完成OpenGL Context的创建工作。
Cocoa是基于Objective-C的一套Apple的独有系统。Objective-C是一种比较古老的语言,是C语言的超集,但是与C++语言又非常不同。作者在写这篇文章之前并没有接触过Objective-C语言,所以这两天查阅了大量的资料来“临时抱佛脚”。这里需要特别感谢 @袁全伟 分享的相关资料整理。我把这些资料会同我自己查阅到的资料都列在了参考引用当中。
实际写下来,感觉Cocoa类似Windows平台上的MFC,或者.NET的感觉,封装还是比较彻底的。好处当然是非常简单易用,但是同时也就意味着很多的细节被隐藏。在我早年学习MFC的时候,想要实现同时期Office所提供的一些很酷的控件效果,就发现非常的不容易。后来学习了Win32 API,发现就能很方便的实现了。这两天对Cocoa的突击学习又让我感觉似乎一下子回到了20多年前,找到了那种有力无处使的感觉。
但是到目前为止我还没有能够找到在macOS上比Cocoa更为底层的API接口。所以我们就将就着用吧。
Cocoa里面至少包含了两个Kit:AppKit和UIKit。AppKit提供了应用程序的框架结构,而UIKit提供了UI组件。最为方便地了解Cocoa的方法是使用XCode生成一个基于Cocoa的应用程序项目,这个过程与使用Visual Studio的向导创建项目非常类似,仅仅需要点击几次鼠标,输入应用程序名什么的,就能够生成一个基本的应用程序(含窗体)的基本结构。

这样一个基本的Cocoa应用(含窗体)项目就生成好了。目录结构大致如下:
.
├── Hello Cocoa
│   ├── AppDelegate.h
│   ├── AppDelegate.m
│   ├── Assets.xcassets
│   │   └── AppIcon.appiconset
│   │       └── Contents.json
│   ├── Base.lproj
│   │   └── MainMenu.xib
│   ├── Hello_Cocoa.entitlements
│   ├── Info.plist
│   └── main.m
└── Hello Cocoa.xcodeproj
    ├── project.pbxproj
    └── project.xcworkspace
        └── contents.xcworkspacedata
程序的主入口是 main.m,AppDelegate.h和AppDelegate.m定义了应用程序代理类,也就是可以对标准的Cocoa Application进行扩展的地方。Assets.xcassets当中是应用程序的一些资源文件,比如图标什么的。Base.lproj当中是被称为InterfaceBuilder工具的界面定义文件,就是所谓的WYSIWYG(What You See Is What You Get,所见即所得)的图形界面编辑器文件。Hello_Cocoa.entitlements和Info.plist,这两个都是XML格式的类似manifest的文件,用来向操作系统或者是APN等提供程序相关的meta data的。而Hello Cocoa.xcodeproj目录当中的则是Xcode的项目文件。
我们可以继续在Xcode当中编译这个项目并执行。如果采用命令行,那么编译的命令如下(假设我们在项目根目录):
chenwenlideMBP:Hello Cocoa chenwenli$ xcodebuild -project Hello Cocoa.xcodeproj/ build
然后执行
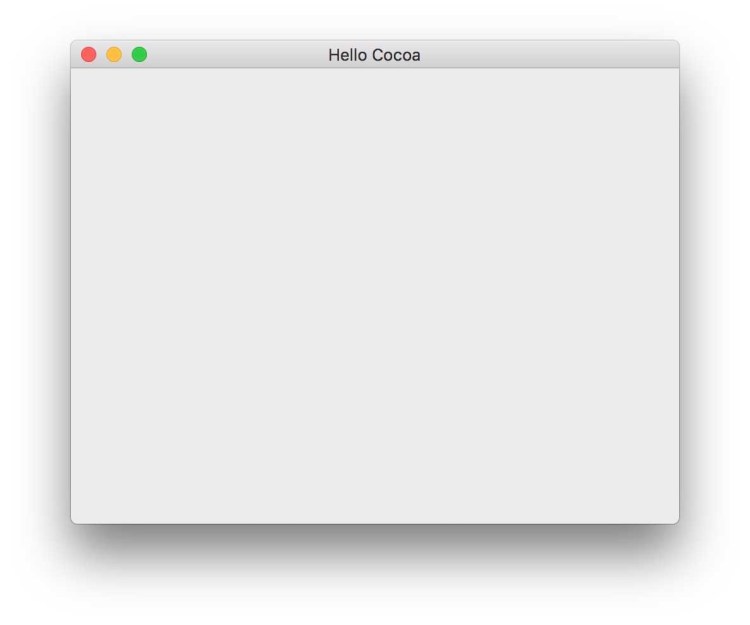
chenwenlideMBP:Hello Cocoa chenwenli$ build/Release/Hello Cocoa.app/Contents/MacOS/Hello Cocoa
就可以看到我们的第一个Cocoa窗口了:
然而,我们需要如何将它和我们之前的代码结合到一起呢?有没有可能将Objective-C和C++混合进行编程呢?
答案是可以的。Objective-C在经过编译之后,生成的二进制文件是与C语言有着同样的二进制接口的。也就是有二进制兼容性(Swift也是一样)。只不过,Object-C的面向对象模型与C++不同,不能简单地将两者等同起来(也就是运行时间库是不一样的)。在macOS全面采用clang作为编译工具之后,由于llvm中间层的存在,Objective-C与C++的互换变得更为方便,甚至出现了Objective-C++这种可以将两者同时写在一个文件当中的“编程语言”(新版本gcc也支持)。不过这里要注意,实际上Objective-C++并不是一种真正的新的语言,书写在源代码当中的Objective-C代码和C++代码其实是相对独立的被编译处理之后又链接在一起的。
好了,那么接下来让我们基于Xcode所生成的模版,按照我们自己所写引擎的架构和逻辑,编写Cocoa版本的Application和OpenGL Context创建代码。(将Objective-C代码嵌入到我们的C++代码当中)
首先我们将XcbApplication.{hpp,cpp}分别拷贝并改名为CocoaApplication.{h,mm}。mm是Objective-C++源代码的后缀。然后编辑如下:
CocoaApplication.h
#include "BaseApplication.hpp"
#include <Cocoa/Cocoa.h>

namespace My {
    class CocoaApplication : public BaseApplication
    {
    public:
        CocoaApplication(GfxConfiguration& config)
            : BaseApplication(config) {};

        virtual int Initialize();
        virtual void Finalize();
        // One cycle of the main loop
        virtual void Tick();

    protected:
        NSWindow* m_pWindow;
    };
}
#include <string.h>
#include "CocoaApplication.hpp"
#include "MemoryManager.hpp"
#include "GraphicsManager.hpp"
#include "SceneManager.hpp"
#include "AssetLoader.hpp"

#import <AppDelegate.h>
#import <WindowDelegate.h>

using namespace My;

namespace My {
    GfxConfiguration config(8, 8, 8, 8, 24, 8, 0, 960, 540, "Game Engine From Scratch (MacOS Cocoa)");
    IApplication* g_pApp                = static_cast<IApplication*>(new CocoaApplication(config));
    GraphicsManager* g_pGraphicsManager = static_cast<GraphicsManager*>(new GraphicsManager);
    MemoryManager*   g_pMemoryManager   = static_cast<MemoryManager*>(new MemoryManager);
    AssetLoader*     g_pAssetLoader     = static_cast<AssetLoader*>(new AssetLoader);
    SceneManager*    g_pSceneManager    = static_cast<SceneManager*>(new SceneManager);
}

int CocoaApplication::Initialize()
{
    int result = 0;

    [NSApplication  sharedApplication];

    // Menu
    NSString* appName = [NSString stringWithFormat:@"%s", m_Config.appName];
    id menubar = [[NSMenu alloc] initWithTitle:appName];
    id appMenuItem = [NSMenuItem new];
    [menubar addItem: appMenuItem];
    [NSApp setMainMenu:menubar];

    id appMenu = [NSMenu new];
    id quitMenuItem = [[NSMenuItem alloc] initWithTitle:@"Quit"
        action:@selector(terminate:)
        keyEquivalent:@"q"];
    [appMenu addItem:quitMenuItem];
    [appMenuItem setSubmenu:appMenu];

    id appDelegate = [AppDelegate new];
    [NSApp setDelegate: appDelegate];
    [NSApp activateIgnoringOtherApps:YES];
    [NSApp finishLaunching];

    NSInteger style = NSWindowStyleMaskTitled | NSWindowStyleMaskClosable |
                      NSWindowStyleMaskMiniaturizable | NSWindowStyleMaskResizable;

    m_pWindow = [[NSWindow alloc] initWithContentRect:CGRectMake(0, 0, m_Config.screenWidth, m_Config.screenHeight) styleMask:style backing:NSBackingStoreBuffered defer:NO];
    [m_pWindow setTitle:appName];
    [m_pWindow makeKeyAndOrderFront:nil];
    id winDelegate = [WindowDelegate new];
    [m_pWindow setDelegate:winDelegate];

    return result;
}

void CocoaApplication::Finalize()
{
    [m_pWindow release];
}

void CocoaApplication::Tick()
{
    NSEvent *event = [NSApp nextEventMatchingMask:NSEventMaskAny
    untilDate:nil
    inMode:NSDefaultRunLoopMode
    dequeue:YES];

    switch([(NSEvent *)event type])
    {
        case NSEventTypeKeyDown:
            NSLog(@"Key Down Event Received!");
            break;
        default:
            break;
    }
    [NSApp sendEvent:event];
    [NSApp updateWindows];
    [event release];
}
这里需要特别说明的就是我们去掉了[NSApp run],取而代之在Tick()当中使用了我们自己的EventLoop。这是为了保证我们的主循环在我们自己所写的main函数(最终会在驱动模块)当中。
然后在Platform/Darwin/CMakeLists.txt当中添加如下编译规则:
# MyGameEngineCocoa
add_executable(MyGameEngineCocoa MACOSX_BUNDLE
        CocoaApplication.mm
        AppDelegate.m
        WindowDelegate.m
    )
find_library(COCOA_LIBRARY Cocoa required)
target_link_libraries(MyGameEngineCocoa
        Common
        ${OPENGEX_LIBRARY}
        ${OPENDDL_LIBRARY}
        ${XG_LIBRARY}
        ${COCOA_LIBRARY}
        )
__add_xg_platform_dependencies(MyGameEngineCocoa)
执行build.sh之后,就会在./build/Platform/Darwin/MyGameEngineCocoa.app/Contents/MacOS/MyGameEngineCocoa当中生成我们的可执行文件。执行它就可以看到我们的窗体了:

看上去不错哦。然后让我们加入对于OpenGL的初始化代码。首先根据参考引用*4,创建两个新文件,GLView.{h,mm},从NSView派生出我们自己的View类:
GLView.h
#import <Cocoa/Cocoa.h>

@interface GLView : NSView
{
    @private
    NSOpenGLContext* _openGLContext;
    NSOpenGLPixelFormat* _pixelFormat;
}

@end
#import "GLView.h"
#import <OpenGL/gl.h>

@implementation GLView

- (id)initWithFrame:(NSRect)frameRect pixelFormat:(NSOpenGLPixelFormat*)format
{
    self = [super initWithFrame:frameRect];
    return self;
}


- (void)drawRect:(NSRect)dirtyRect {
    [super drawRect:dirtyRect];

    [_openGLContext makeCurrentContext];

    glClearColor(1,0,1,1);
    glClear(GL_COLOR_BUFFER_BIT);

    [_openGLContext flushBuffer];
}


- (instancetype)initWithFrame:(NSRect)frameRect
{
    self = [super initWithFrame:frameRect];

    NSOpenGLPixelFormatAttribute attrs[] = {
        NSOpenGLPFAOpenGLProfile, NSOpenGLProfileVersion3_2Core,
        NSOpenGLPFAColorSize,32,
        NSOpenGLPFADepthSize,16,
        NSOpenGLPFADoubleBuffer,
        NSOpenGLPFAAccelerated,
        0
    };

    _pixelFormat = [[NSOpenGLPixelFormat alloc] initWithAttributes:attrs];
    if(_pixelFormat == nil)
    {
        NSLog(@"No valid matching OpenGL Pixel Format found");
        return self;
    }

    _openGLContext = [[NSOpenGLContext alloc] initWithFormat:_pixelFormat shareContext:nil];


    [[NSNotificationCenter defaultCenter] addObserver:self
                                            selector:@selector(_surfaceNeedsUpdate:)
                                                name:NSViewGlobalFrameDidChangeNotification
                                               object:self];

    [_openGLContext makeCurrentContext];

    return self;
}


- (void)lockFocus
{
    [super lockFocus];
    if([_openGLContext view]!= self)
    {
        [_openGLContext setView:self];
    }
     [_openGLContext makeCurrentContext];

}

- (void)update
{
    [_openGLContext update];
}

- (void) _surfaceNeedsUpdate:(NSNotification*) notification
{
    [self update];

}


@end
然后再添加两个文件,CocoaOpenGLApplication.{h,mm},从CocoaApplication派生出带有OpenGL Context(GLView)的应用类型,在CocoaApplication的初始化之后,将GLView的实例替换到窗口客户区:
int CocoaOpenGLApplication::Initialize()
{
    int result = 0;

    result = CocoaApplication::Initialize();

    GLView* view = [[GLView alloc] initWithFrame:CGRectMake(0, 0, m_Config.screenWidth, m_Config.screenHeight)];

    [m_pWindow setContentView:view];

    return result;
}
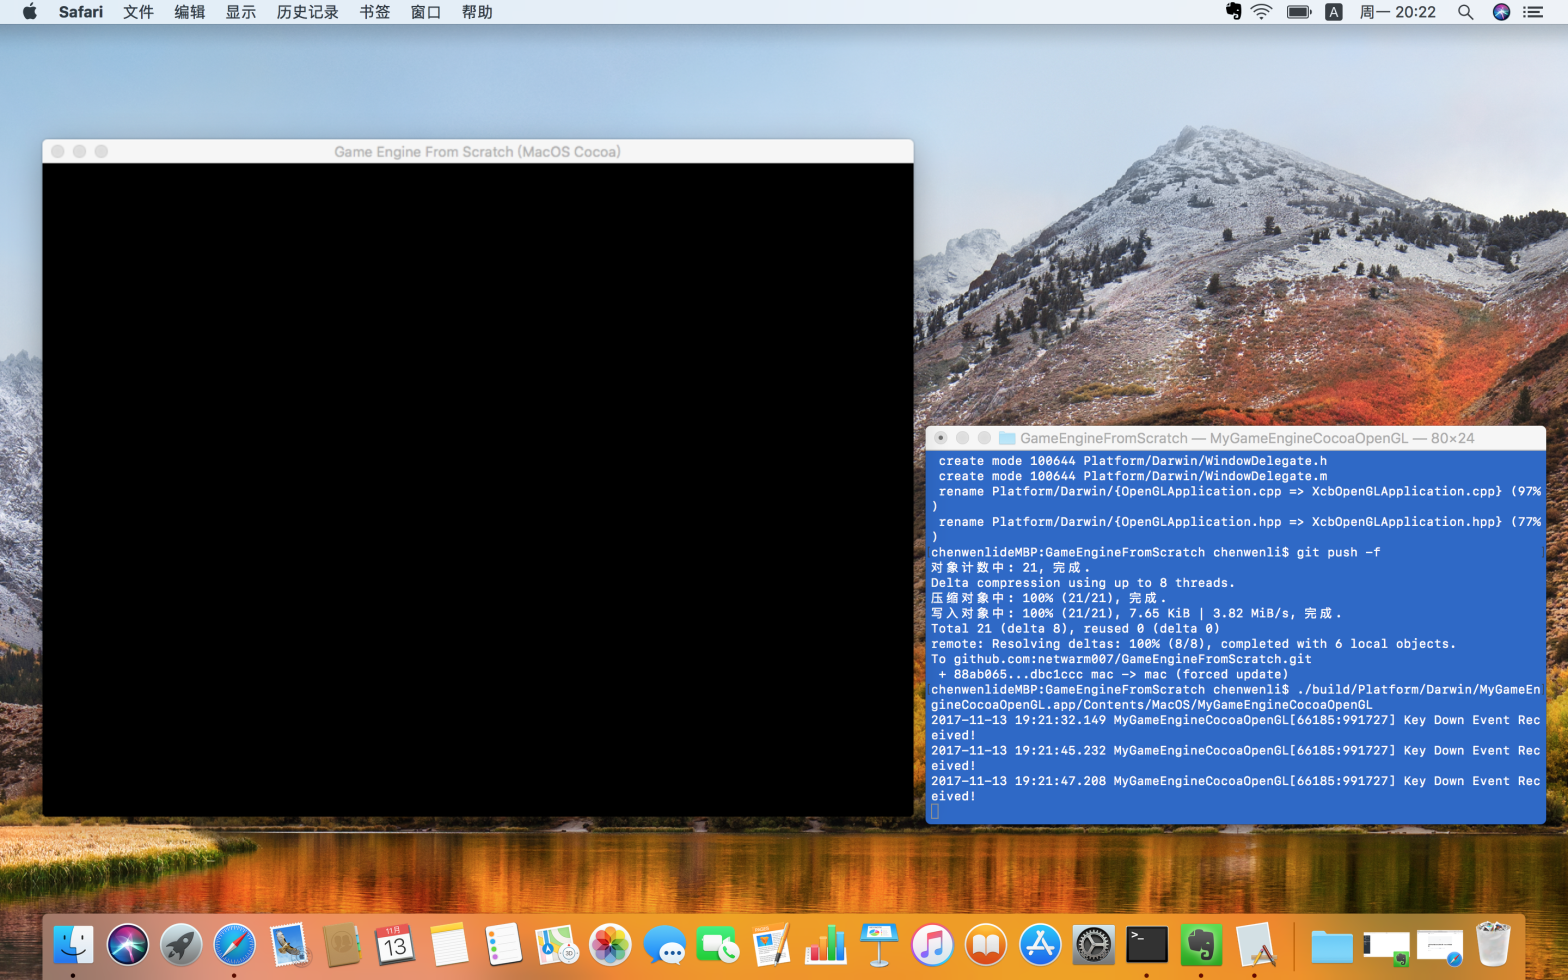
最后是修改CMakeLists.txt。已经很长了,不赘述了。最后运行效果如题图。完成的代码在mac2分支当中。

参考引用
- Getting Started – OpenGL Wiki
- Programming OpenGL on macOS
- Creating a Cocoa application without NIB files
- OpenGL for macOS
- Drawing to a Window or View
- MACOSX_BUNDLE – CMake 3.0.2 Documentation
- AppKit | Apple Developer Documentation
- Demystifying NSApplication by recreating it
- Minimalist Cocoa programming
- Objective-C – Wikipedia
- Mixing Objective-C, C++ and Objective-C++: an Updated Summary
